
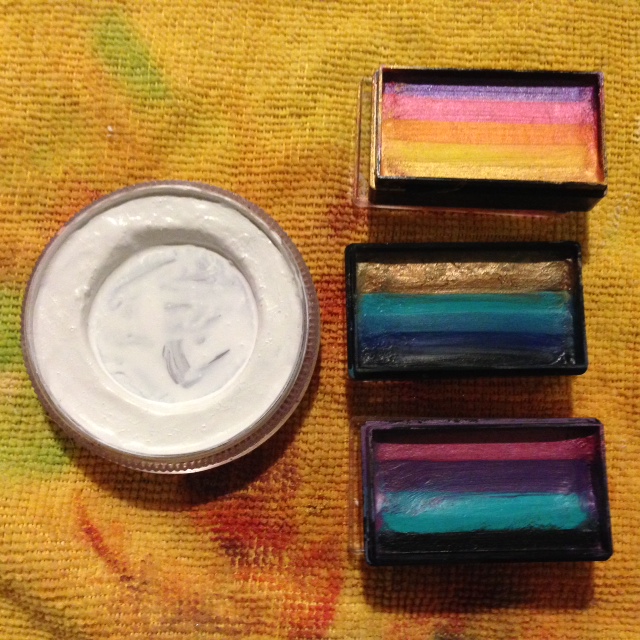
 Merry (day after) Christmas everyone! Of course now that the Christmas celebrating is about over, I am one of the lucky ones to get sick. Spent most of the day in bed today, but I couldn't leave you followers out there without your dose of my "Daily Doodle"! Thus, I'm here equipped with a large cup of orange juice and git'n 'er dun!! As I wasn't in the mood for doing something hugely elaborate using a ton of techniques and colors (my brain just couldn't handle that today), I chose to stay simple and give some of my Arty Brush Cakes from Silly Farm some attention; experimenting with alternate ways of using them rather than the typical one stroke technique. (I like to think outside of the box.) I used Arty Brush Cakes: Sparkle Dust, Mermaid, and Purple Rain. And then for my line work I used Wolfe FX Hydrocolor 001 (White). I have to say, the Arty Brush Cakes are really fun. They not only work for wider flat brushes; you can easily use smaller flat brushes as well to focus on specific lines of color. In my doodle tonight, I used sponges and a 1/2" Flat brush. (Brush/Sponge details are below.) So here's what I started with:
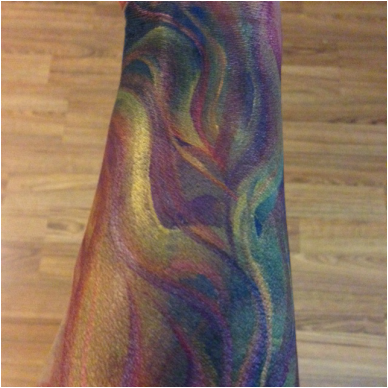
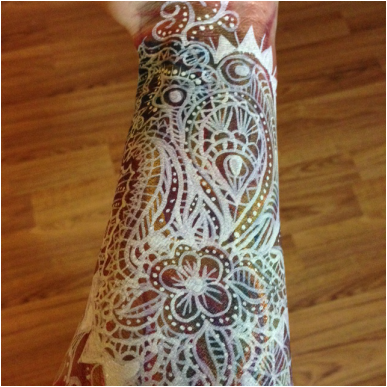
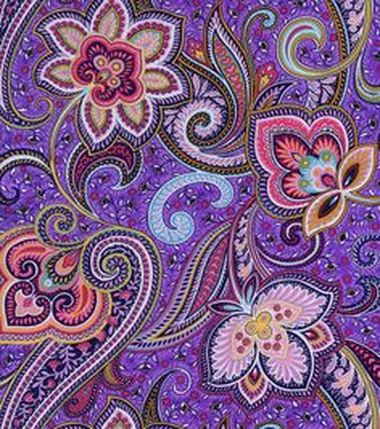
I have to say, when you see the Arty Cakes on your monitor screen, the images don't really do them justice. They were actually larger than I expected, and they are at least 1/4" thick. The consistency is fantastic, and they take very little water to activate the pigment. Using sponges as I did tonight, I was able to make the pigments lay down a little bit more sheer and layer them on top of one another to create a nicely blended background for my doodle. The metallics in these are super sparkly. The bronz-y gold in the "Mermaid" cake is amazing! (I seriously want a cake of just that color - It's super rich and very metallic.) Oh.. and for you peacock fans out there, the "Mermaid" cake lends itself nicely for creating peacock feathers, or Art Nouveau peacock-esque themes too. I have used these cakes several times, but the wider flat brushes I have are not very impressive, so I have typically used just bits of the colors from them on smaller brushes, or in today's case, on sponges. (I have flat brushes on my "To Get" list and will share some one stroke doodles with you once I get them.) Below, you can see the background I laid out with the Arty Brush cakes; first using sponges in blocks of random color, then using the 1/2" flat brush at varying angles to create some interesting flourishes and color variations. Then you can see the final with the white overlay. (I'm almost thinking a pearly white may have been better than the bright white as it would have allowed the background to peek through a little better. But, hey, this is practice and I certainly got some line work practice in tonight!) In the end, it turned out that my paisley inspiration took on a bit of a "Henna Art" direction. (Henna is on my "To Learn" list; tried it years ago in the mid-1990's but it too has taken off as quite a popular art form since then too- much like face and body painting.)
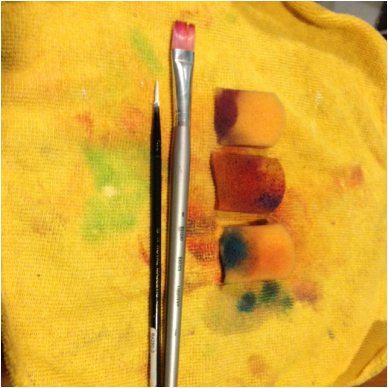
3. The last brush is by Liquitex from their Basics line. The brush is called "Bright" and is a Flat Brush Size 8. (About 1/2") I purchased this brush originally for acrylic painting (Dick Blick), but as I bought 2 of them, I chose to use this one for face painting. Not the best brush for doing flat brush work. The bristles like to split a lot and it's not very easy to control. Like I mentioned earlier, I have flat brushes on my "To Get" list.
I hope you found some, (much, little, any...) of this information and experimentation useful. Please feel free to leave a comment below~ Share your insights, thoughts, resources, questions, tricks... It's always fun to share knowledge. Have a wonderful evening & I will be back tomorrow with another doodle! Keep creating, keep smiling, and keep dreaming~ -tif-
1 Comment
|
AuthorWrite something about yourself. No need to be fancy, just an overview. Archives
March 2015
Categories |

 RSS Feed